Rokasgrāmata Skil 2531 AB Urbja piedziņas ierīce
Nepieciešama rokasgrāmata savam Skil 2531 AB Urbja piedziņas ierīce? Zemāk var apskatīt un bez maksas lejupielādēt PDF rokasgrāmatu latviešu valodā. Šim produktam pašlaik ir 3 bieži uzdotie jautājumi, 0 komentāri un 0 balsis. Ja šī nav jūsu vēlamā rokasgrāmata, lūdzu, sazinieties ar mums.
Vai jūsu produkts ir bojāts, un rokasgrāmatā nav sniegts risinājums? Dodieties uz Repair Café, lai veiktu bezmaksas remontu.
Rokasgrāmata


Vērtējums
Paziņojiet mums, ko jūs domājat par Skil 2531 AB Urbja piedziņas ierīce, novērtējot produktu. Vai vēlaties dalīties pieredzē ar šo produktu vai uzdot jautājumu? Ievadiet savu komentāru lapas apakšdaļā.Vairāk par šo rokasgrāmatu
Mēs saprotam, ka ir patīkami, ka jūsu Skil 2531 AB Urbja piedziņas ierīce ir papīra rokasgrāmata. Jūs vienmēr varat lejupielādēt rokasgrāmatu no mūsu vietnes un pats to izdrukāt. Ja vēlaties saņemt oriģinālo rokasgrāmatu, iesakām sazināties ar Skil. Viņi varētu nodrošināt oriģinālu rokasgrāmatu. Vai meklējat sava Skil 2531 AB Urbja piedziņas ierīce rokasgrāmatu citā valodā? Izvēlieties vēlamo valodu mūsu mājaslapā un meklējiet modeļa numuru, lai redzētu, vai tas ir pieejams.
Specifikācijas
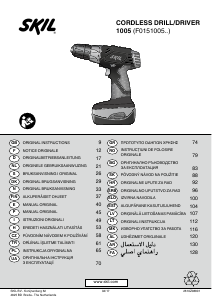
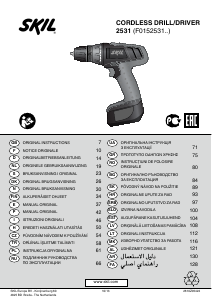
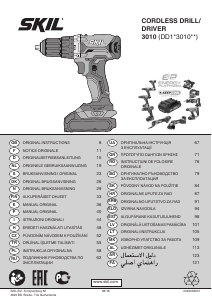
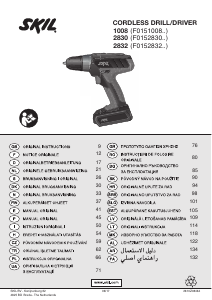
| Zīmols | Skil |
| Modelis | 2531 AB |
| Kategorija | Urbja piedziņas ierīces |
| Faila veids | |
| Faila lielums | 8.36 MB |
Visas rokasgrāmatas par Skil Urbja piedziņas ierīces
Citas Urbja piedziņas ierīces rokasgrāmatas
Bieži uzdotie jautājumi par Skil 2531 AB Urbja piedziņas ierīce
Mūsu atbalsta komanda meklē noderīgu informāciju par produktu un atbild uz bieži uzdotajiem jautājumiem. Ja atrodat ko nepareizu bieži uzdotajos jautājumos, informējiet mūs, izmantojot saziņas veidlapu.
Lietojot urbjmašīnu, es turpinu noņemt skrūves galvu. Kāpēc ir tā, ka? Apstiprināts
Lielāko daļu urbjmašīnu var iestatīt tā, lai tās skrūvētu stingrāk vai mīkstāk. Ja galva pastāvīgi tiek noņemta, urbjmašīna, iespējams, ir jāiestata citā iestatījumā. Ja tā ir bezvadu ierīce, vienmēr pārliecinieties, vai akumulators ir uzlādēts, lai nodrošinātu optimālu rezultātu.
Tas bija noderīgi (73) Lasīt vairākVai man ir jāvalkā dzirdes aizsardzības līdzekļi, lietojot urbi? Apstiprināts
Jā, vajadzētu. Lai gan urbjmašīnas radītā trokšņa daudzums var atšķirties atkarībā no zīmola un modeļa, ilgstoša skaļa trokšņa iedarbība var izraisīt neatgriezeniskus dzirdes bojājumus. Tāpēc ir ieteicams valkāt dzirdes aizsarglīdzekļus.
Tas bija noderīgi (23) Lasīt vairākVai es varu glabāt elektroinstrumentus šķūnī vai garāžā? Apstiprināts
Parasti elektroinstrumentus var glabāt šķūnī vai garāžā, pat ja tas dažreiz tur sasalst. Tomēr elektroinstrumenta kalpošanas laikam labāk to uzglabāt sausā vietā bez lielām temperatūras svārstībām. Šķūnī vai garāžā temperatūras atšķirības var izraisīt kondensāta veidošanos, kas var izraisīt rūsu. Turklāt instrumenti, kas darbojas ar baterijām, kalpo īsāku laiku un neuzlādējas tik labi ļoti zemā temperatūrā. Lai pārliecinātos, kā jūsu elektroinstruments ir jāuzglabā, vienmēr rūpīgi izlasiet lietotāja rokasgrāmatu.
Tas bija noderīgi (11) Lasīt vairāk


Pievienoties sarunai par šo produktu
Šeit varat dalīties savās domās par Skil 2531 AB Urbja piedziņas ierīce. Ja jums ir jautājumi, vispirms rūpīgi izlasiet rokasgrāmatu. Rokasgrāmatu var pieprasīt, izmantojot mūsu saziņas veidlapu.